Three Dimensional laser scanning is very fast, accurate, and useful. It is not necessarily a new technology, but has only recently become a practical economic choice.
There are two types of scanning we will focus on – site scanning and building scanning. Site and building scanning use the same LiDAR principles. LiDAR stands for Light Detection and Ranging. LiDAR refers to a technique of shooting a laser over a surface area and recording the depth of the surface in the computer.

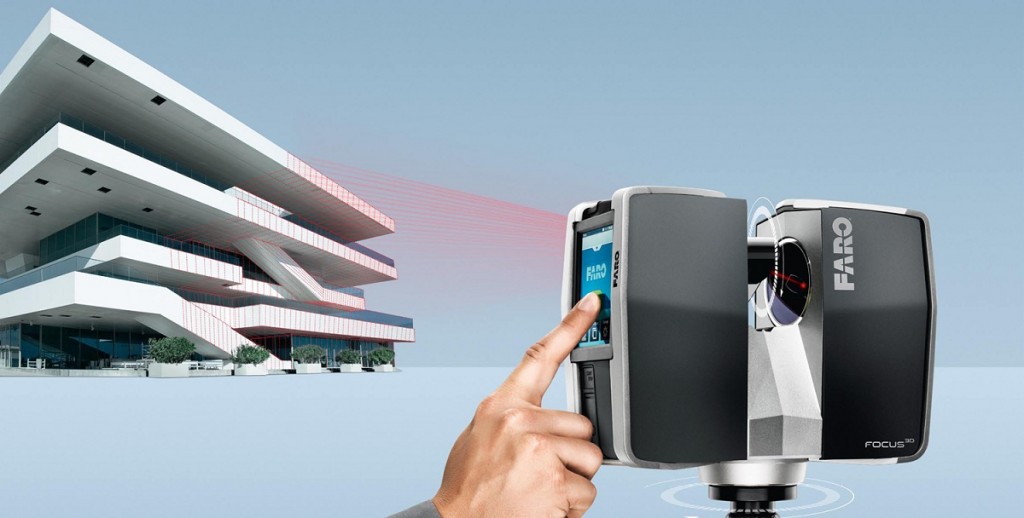
This image taken from the FARO web site illustrates the basics of laser scanning. The scanner sends out a laser beam and when the beam hits a surface it bounces back to the scanner. The scanner records the distance the laser traveled before hitting an object and logs this information to a point in space.
The way it works is the 3D scanner shoots a pulse of light with a laser to the surface area being scanned and then records the amount of time the reflection takes to return to the scanner. The scanner then creates a representational point for where the pulse hit the surface being scanned. The points the scanner records in the computer form what is called a point cloud.
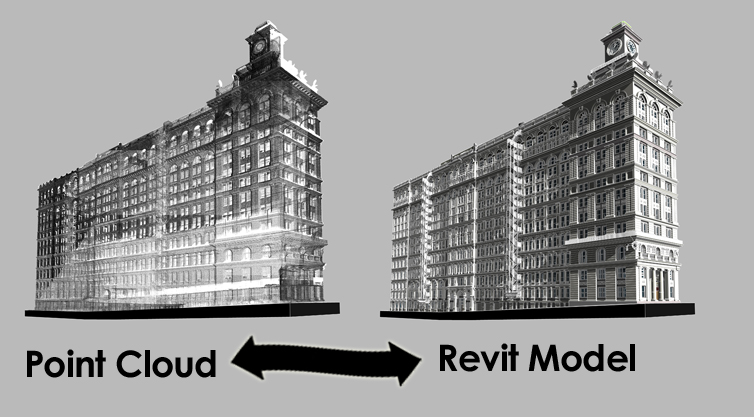
Some scanners can also capture the color of the surface area and map that color to the points. The point cloud becomes a visible representation of the area scanned. Through a viewer program like Tru View, you can navigate through, explore and see the scanned area.
Most importantly for architects and engineers, the point cloud can be measured and dimensioned. Measuring curved buildings, high lobbies, and historic facades becomes easy. The ability to view and measure the project directly from your computer reduces the need for additional trips to the job site. When working internationally, or even nationally, fewer site visits can significantly drive down project costs.
The point clouds becomes significantly more useful to architects and engineers when the points are converted to create surface geometry. Surface geometry can be imported into BIM programs, such as Revit, ArchiCAD, or others, to provide an accurate model of existing conditions in a building or on a site. Base on our extensive experience, modeling from scans is significantly faster than modeling from traditional survey data or as built documentation.


Excellent post! It took me a laser scanning land, last year in Serbia. I came to the engineering firm that did the job perfectly http://www.geourbgroup.com . I am very happy
We are looking to digitize our “field measuring” for ACM panels and/or our Curtainwall Systems. We currently work everything on AutoCad [2D] and not nessaraly looking to provide a detailed/complete image of a building. If there is a method to digitize the surface area/elevation we intend to cover this will significantly reduce manhours.
Thanks
Mike K
603-436-0001 x109